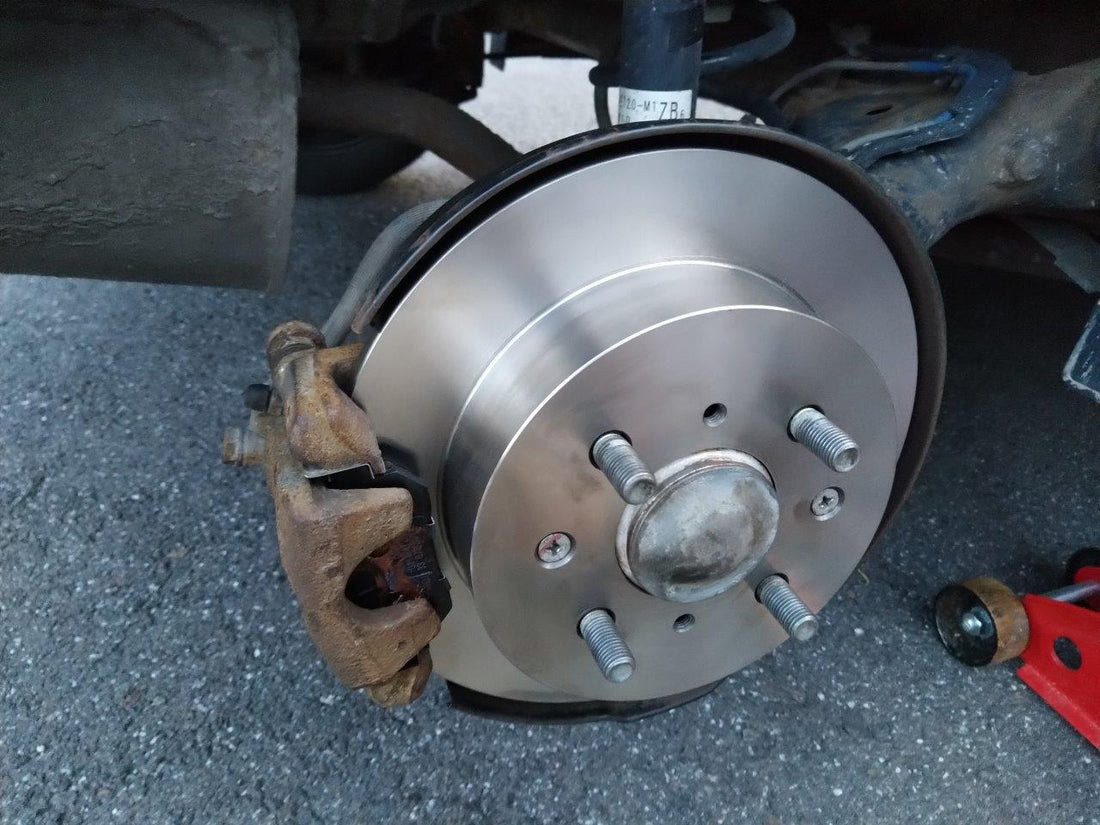
Repair Of The Brake Pads Of Your Vehicle
Share
About Brake Pads.
Brake pads are the parts of the brake system that provide the necessary friction to the rotors so that when the pedal is applied, the vehicle stops. That is, the brake pads squeeze the rotor so that the vehicle can brake when using the pedal.

About Repairing Brake Pads.
The brake pads do not suffer breakdowns, but if they wear out, and as they wear out several problems begin to arise that can pose a real risk when driving the car, so if there are any problems with the brakes, it is best to solve it as soon as possible.
Brake pads are generally in optimal condition between 25,000 and 50,000 miles or 40,000 and 80,000 kilometers. Already after 50,000 miles it is advisable to check the brake pads if you have not already done so and if possible, also check the rotor and brake fluid. However, there are also other factors that indicate when brake pads should be replaced, for example, when squeaking when braking.
Repairing brake pads is a very common procedure but it can become very expensive. It is an easy repair to do that you can do yourself in the comfort of your home, which makes it a home repair, but delicate as it is as important an appearance as the brakes. If you don't feel confident enough, you can take your vehicle to a workshop, but anyway the information below will help you both to do the repair yourself and to be aware of what the mechanic does.
Tools Required:
- Jack
- Gloves
- Protective goggles
- Cross wrench
- Allen wrench
- Flat screwdriver
Materials Required:
Brake pads.
Steps for changing your brake pads:
- Rotate the direction of the car and loosen the wheel screws: Rotate the direction of the car towards the wheel whose brake pad you want to change. That is, if you want to change the ones on the right, you should turn right. Then use the cross wrench to loosen the screws, but without finishing removing them.
- Lift the car and remove the wheel: Use the jack to lift the car and finish removing the wheel screws with the cross wrench. Once you've removed them all, you'll be able to remove the wheel and access the brake system.
- Remove the brake pads: You will have the brake pads and disc in front of you. Once you identify the pickup, use the Allen wrench to remove the screws that hold it and pry with the screwdriver so you can remove it. You should make the lever by resting the end of the screwdriver on the pads and with the edges of the disc, never on the contact surface of the disc.
- Introduce the new brake pads: The new pickups will snap in. Just insert them a little sideways to get them in and out of the top sheet metal. When inside, compress and adjust the brake piston to fit perfectly and screw them back in with the Allen wrench.
- Mount the wheel again: Grab the wheel and reassemble it with the cross wrench until it is fully fastened. Check that there are no loose or loose screws, both on the wheel and on the pickup itself.
- Repeat the process with the rest of the brake pads: When you're done with the first wheel, you'll need to follow the same steps with the rest. In case you only want to change the front or rear brake pads, you only have to repeat it once.
- Pump the brake: As a precaution it is important that you press the pedal completely and progressively several times. This will bring the piston to the disc and leave it in the ideal place to operate in perfect condition.
- Drive 100 kilometers without braking sharply: In the first 100 kilometers of circulation after changing the brake pads you have to brake gently and avoid sharp braking. Any braking of this type will shorten the life of the pills.

Latest Recommendations.
It is recommended that you take the vehicle to a mechanic for repair.
The steps above are for most vehicles, however, some steps may vary depending on the make, year and model of the vehicle, so it is recommended to consult specifically what the process of each vehicle is like.
Finally, when you drive after repair, you may hear some squeaking. Don't worry, it's because of the change, and over time the brake pad will adapt. But, if this problem persists and gets worse, you should take the vehicle immediately to a service shop to check your vehicle.
